If you have already uploaded a file in the Media Center and linked it to an article but need to replace that file with a revised version and do not need to change the filename:
- Login to the Admin Center as an Administrator.
- From the Content segement select Media.
- Locate the file you wish to replace using the search and/or navigation tools in the Media Manager.
- Click on the file you wish to change.
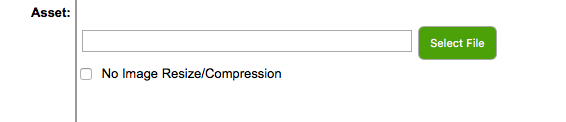
- Click on the Select File button and locate the new file on your computer.
- Click on the Update button. The file will be replaced but the filename will be the same. All articles that link to this file will now link to the new version.
NOTE: If you have years or versions etc. indicated in your filename and you replace the file with a different version it will STILL have the old filename. We suggest for files like this that when you first create the Media entry and upload the original file you think carefully and rename the file on your computer to something generic. For example if the file on your computer was "2018 Order Form.pdf" rename the file to simply be "Order Form.pdf" and then the Media manager will upload the file as "OrderForm.pdf" (spaces and most non-alphanumeric charcters are removed). Then next year when you are ready to upload "2019 Order Form.pdf" you can just replace the file as detailed above and it will still be "OrderForm.pdf" on the website.
This is a critical concept to understand. Media Entries have a field for Name which can be anything and can be changed at anytime. The field for Filename however is taken from the filename on the computer that uploaded the file and can NEVER be changed. You can, of course, delete a file but you cannot change the filename on the server.